While putting together some custom SNES PCBs from Nick at MouseBiteLabs, the carts required a PIC12F629 chip to bypass Nintendo’s copy protection using the community-built SuperCIC “key” code.
Maybe I should have ordered pre-programmed chips from the seller, but instead I decided to make things more difficult interesting and get a “PICKit” programmer clone from our friend AliExpress.
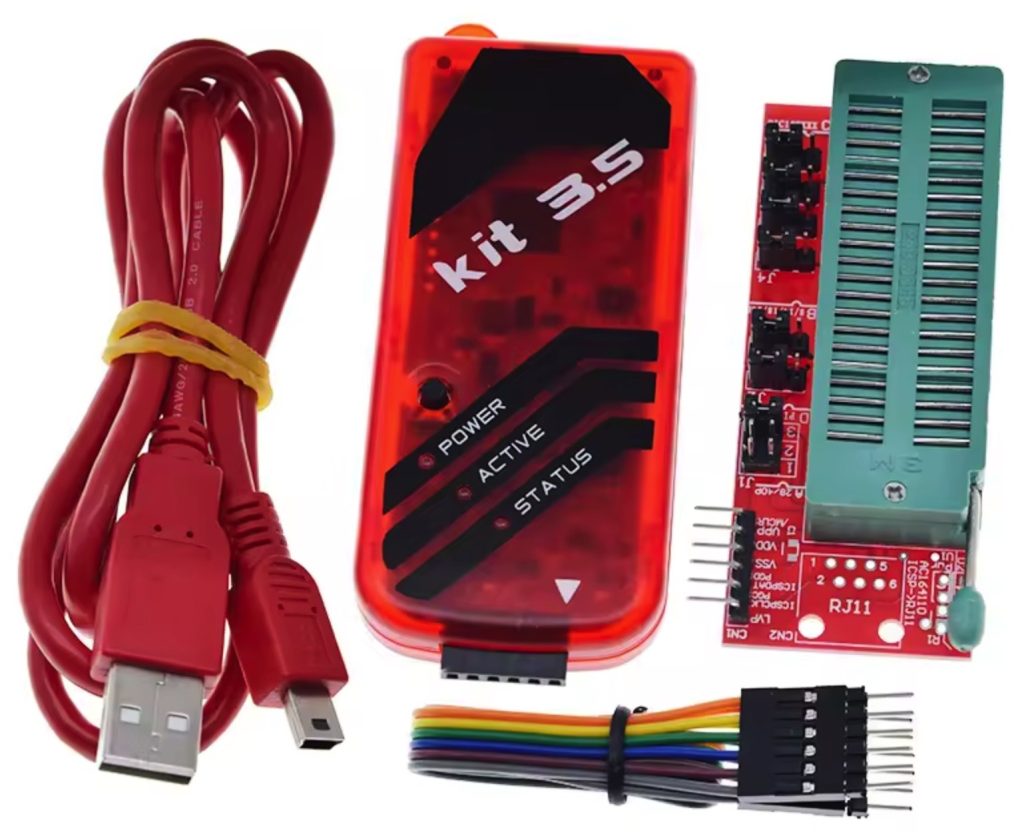
If you want your own clone programmer, search for “PICKit 3.5 programmer” on AliExpress and purchase from a seller that’s sold 100+ units. I got mine for $15, plus $7 shipping to Canada.
As an aside, the original PICkit programmer/debugger is a device produced by the company Microchip. Their latest revision is the PICkit 5, but older versions work perfectly for our needs. And, since the original version 3 has been discontinued, the best way to get one is to buy a clone from AliExpress.
Download the assets
First, download the required software and payloads.
- Download PICkitminus by jaka-fi, an “enhanced” version of the original Microchip PICkit2 software which supports more devices than the original discontinued software. (local mirror v3.28.03)
- Download the SuperCIC hex code from Project SN2SNES, extract the file
supercic-key_p12f629.hexfrom the archive and save it for later. (SuperCIC local mirror)
Configure the socket adapter
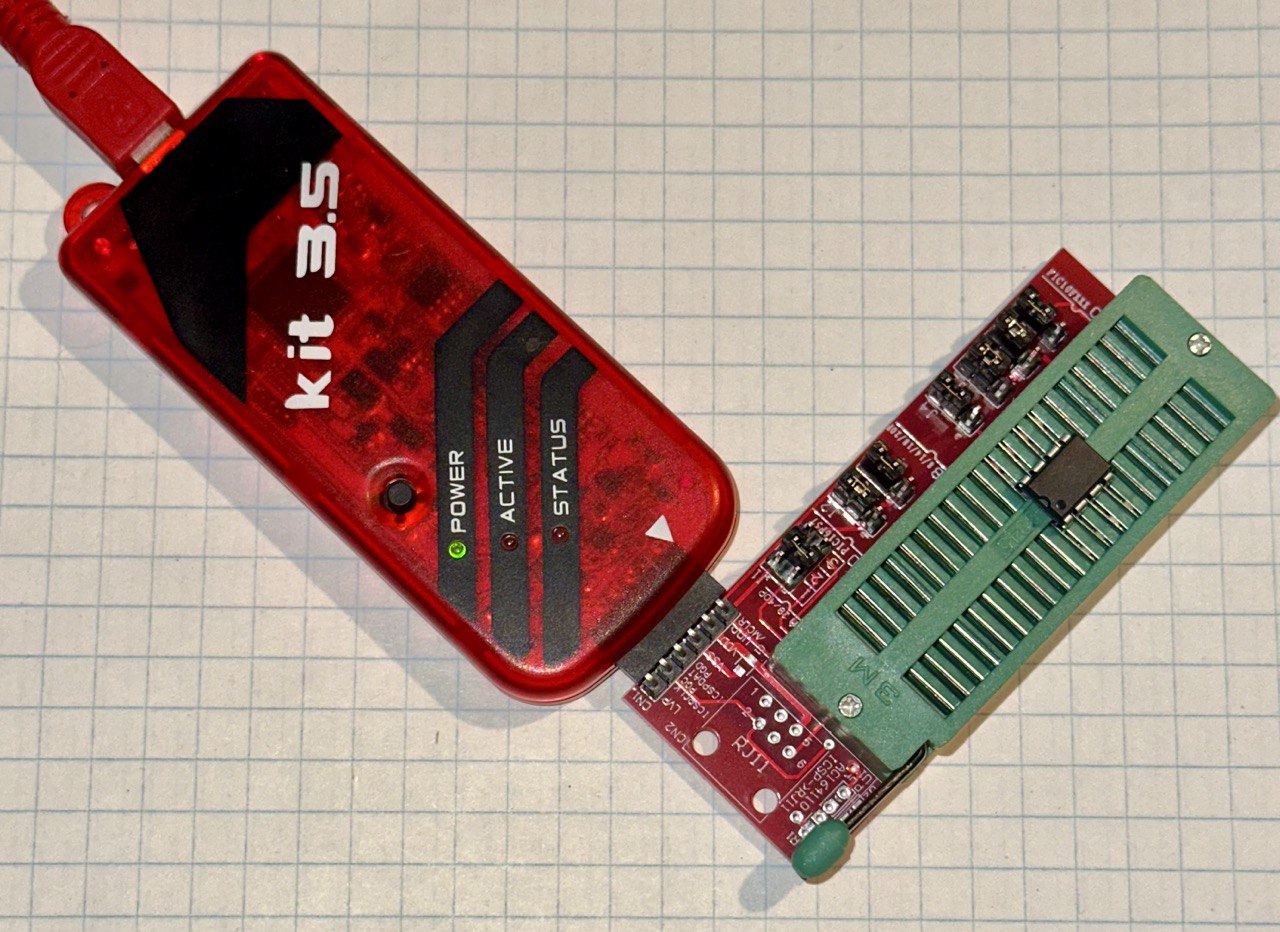
Next, configure your socket adapter based on the instructions printed on the bottom of the adapter board. The PIC12F629 is a DIP8 package (i.e. 8 pins), so we will use those settings.
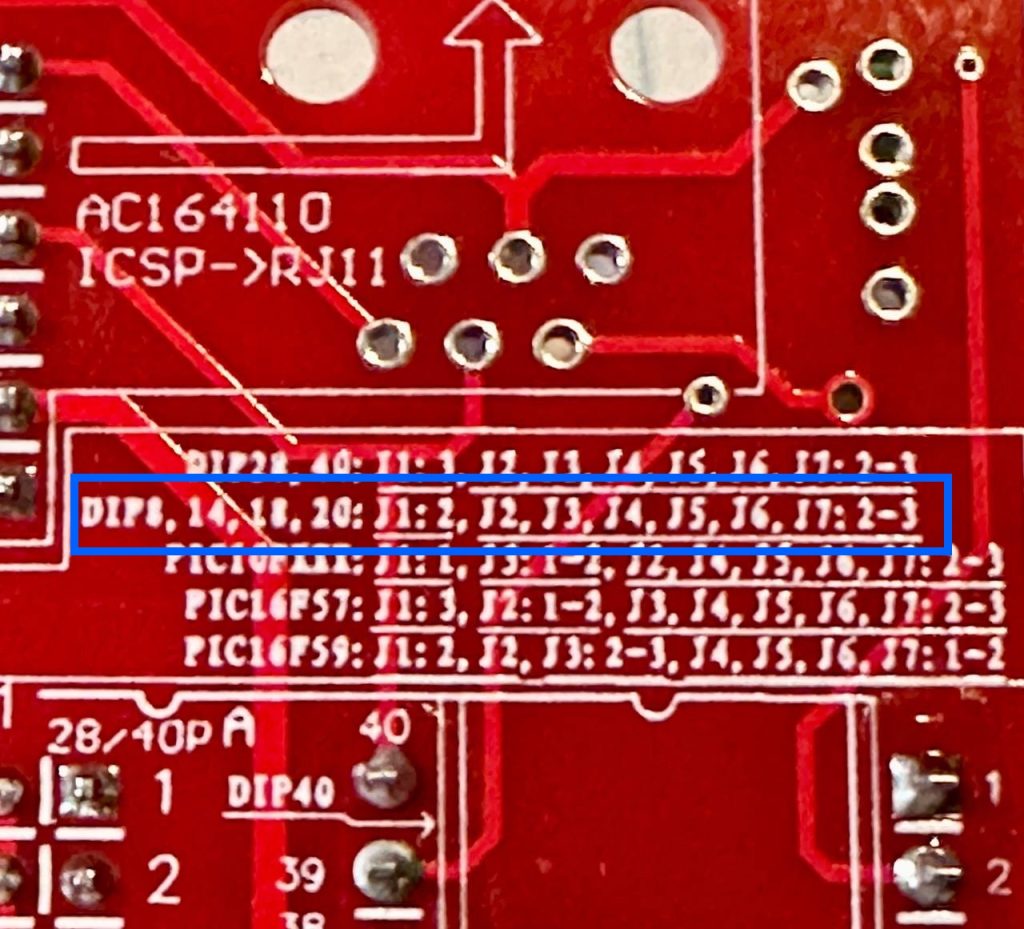
This can be a little hard to read, but it says:
- Set Jumper 1 to “2” (bridging the middle 2 pins)
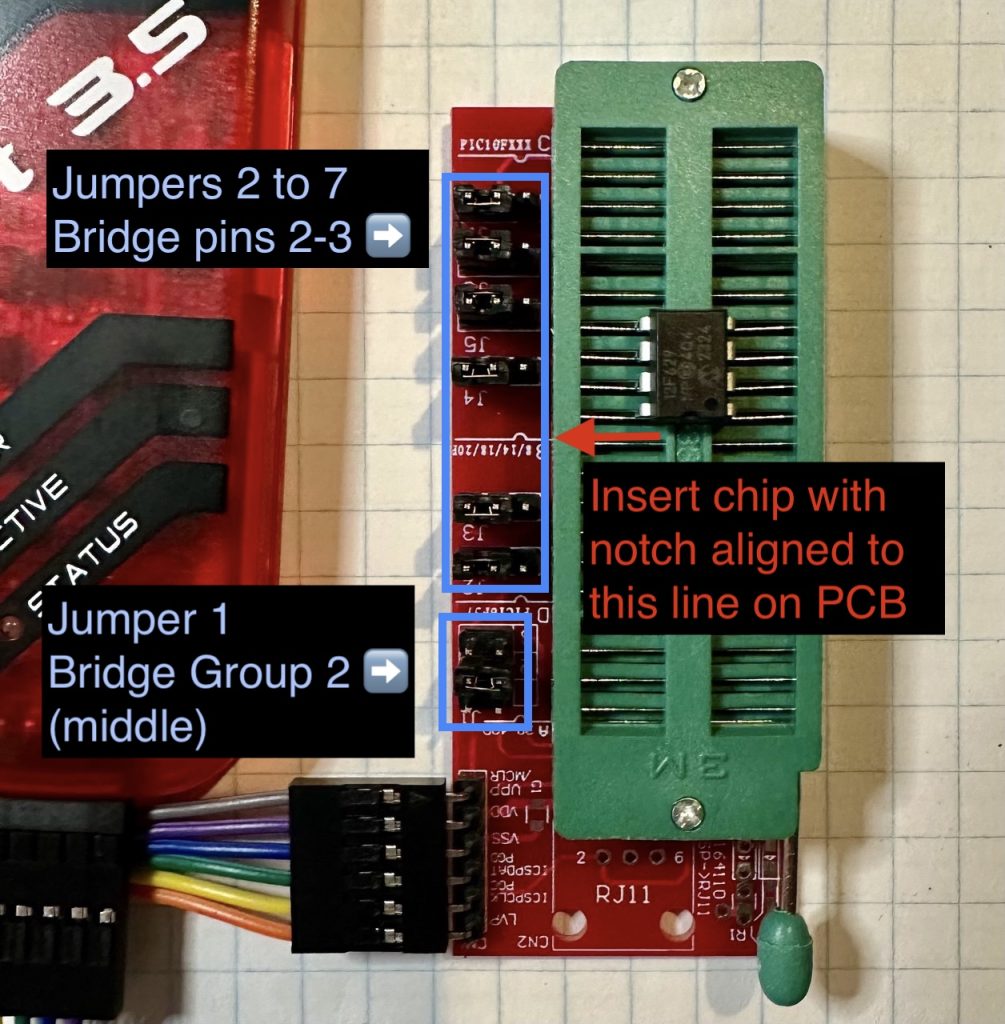
- Set Jumpers 2-7 to the “2-3” setting (bridging pins 2 & 3 for each group).
When properly configured and chip inserted, the adapter should look like the following image:
Below is the pinout for the PICkit programmer tool, in case you don’t have an adapter handy. (source)
Below shows how to connect the PIC12F629 chip directly to the headers of the PICkit.
PICkit  -> PIC12F629
1 (Vpp) -> Pin 4
2 (Vdd) -> Pin 1
3 (Vss) -> Pin 8
4 (ISCPDAT) -> Pin 7
5 (ISCPCLK) -> Pin 6
6 (LVP/Aux) Not used.
Programming the PIC12F629 chip
Plug your PICkit programmer into your computer via USB and let Windows set up the new device (if necessary). You’ll hear the familiar “hardware connected” sound when it’s done.
Install / run the PICkitminus software.
Click File -> Import hex and select the supercic-key_p12f629.hex file that you extracted earlier.
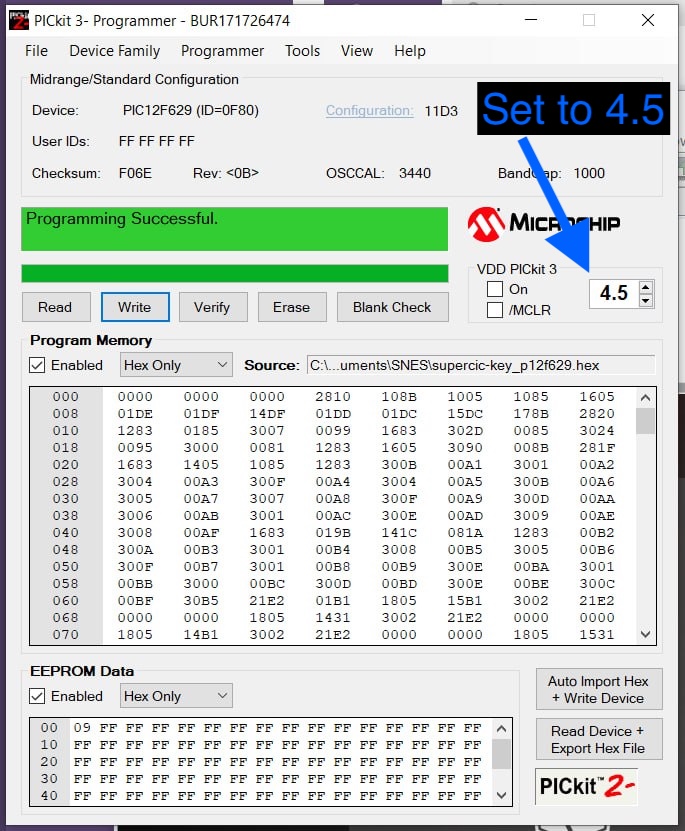
Ensure that the VDD setting is 4.5. If you forget, the programmer should warn you of the incorrect value.
Click the Write button. You should see “Programming Successful” in the debugging output.
You can click the verify button to ensure the write was successful.
That’s it! Your PIC chip should now be programmed and ready for use.
Troubleshooting
If you have trouble with the PICkitminus app detecting the programmer, try reconnecting the USB cable and click Tools -> Check communication from the app menu.
If you continue to have trouble connecting to your PICKit programmer, you may need to install the MPLAB X IDE software first. At time of writing, the IDE software version is v6.20.
Wrapping up
Props to Nick from MouseBiteLabs for the T48 programming guide, and for the open-source SNES carts he’s made available to the community.
Also huge kudos to jaka-fi for keeping PICkitminus updated.